Receive Purchase Orders
Overview
Section titled “Overview”Purchase Orders (POs) let you track incoming inventory from your vendors. Before creating POs, add your vendors in Root Mobile. Then create orders, receive shipments against them, and—if you use QuickBooks Online (QBO)—send bills when goods arrive.
In this guide, we’ll walk through how to:
- Add vendors to get started
- Create a purchase order
- Receive a PO and update received quantities
- View received POs using the Show Received toggle
- Send Item Receipts (Bills) to QBO after receiving
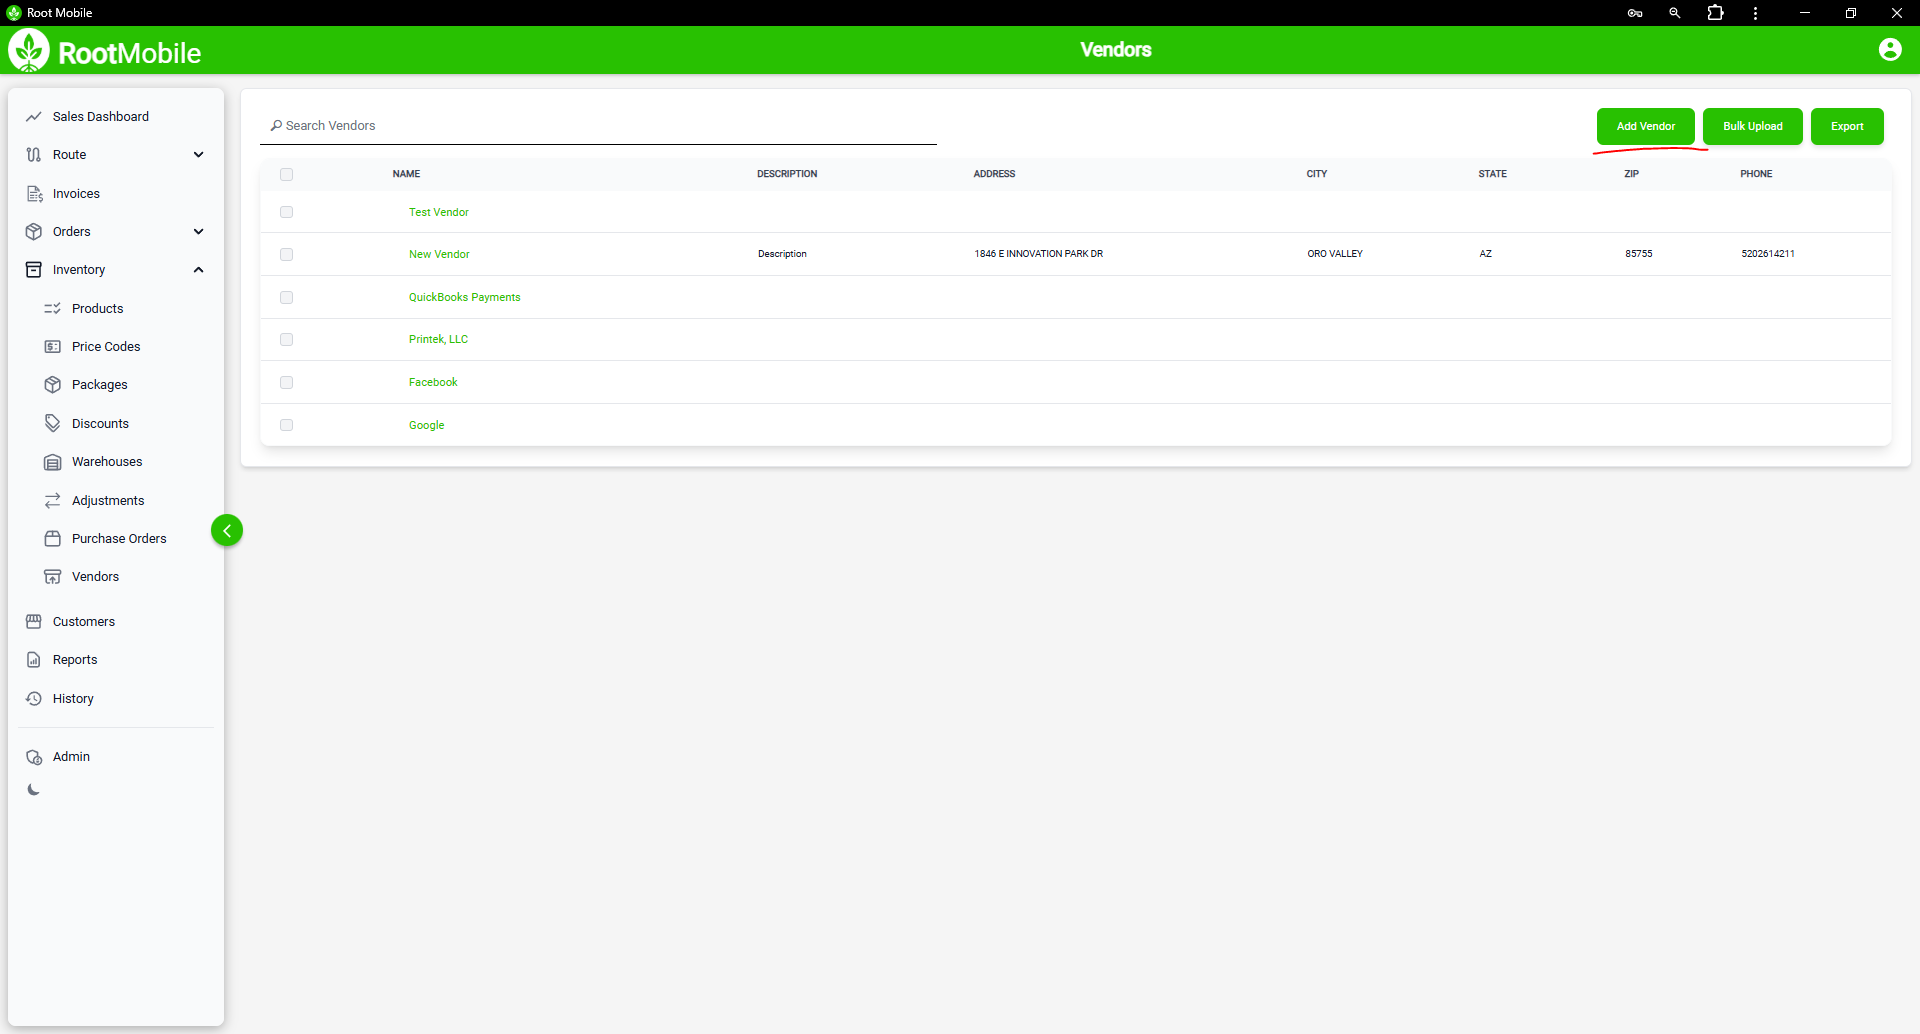
Step 1: Add Vendors
Section titled “Step 1: Add Vendors”Before you can create purchase orders, add the vendors you buy from:
- Navigate to the Vendors section in the Root Mobile web app.
- Add your vendor records so they appear when creating a PO.
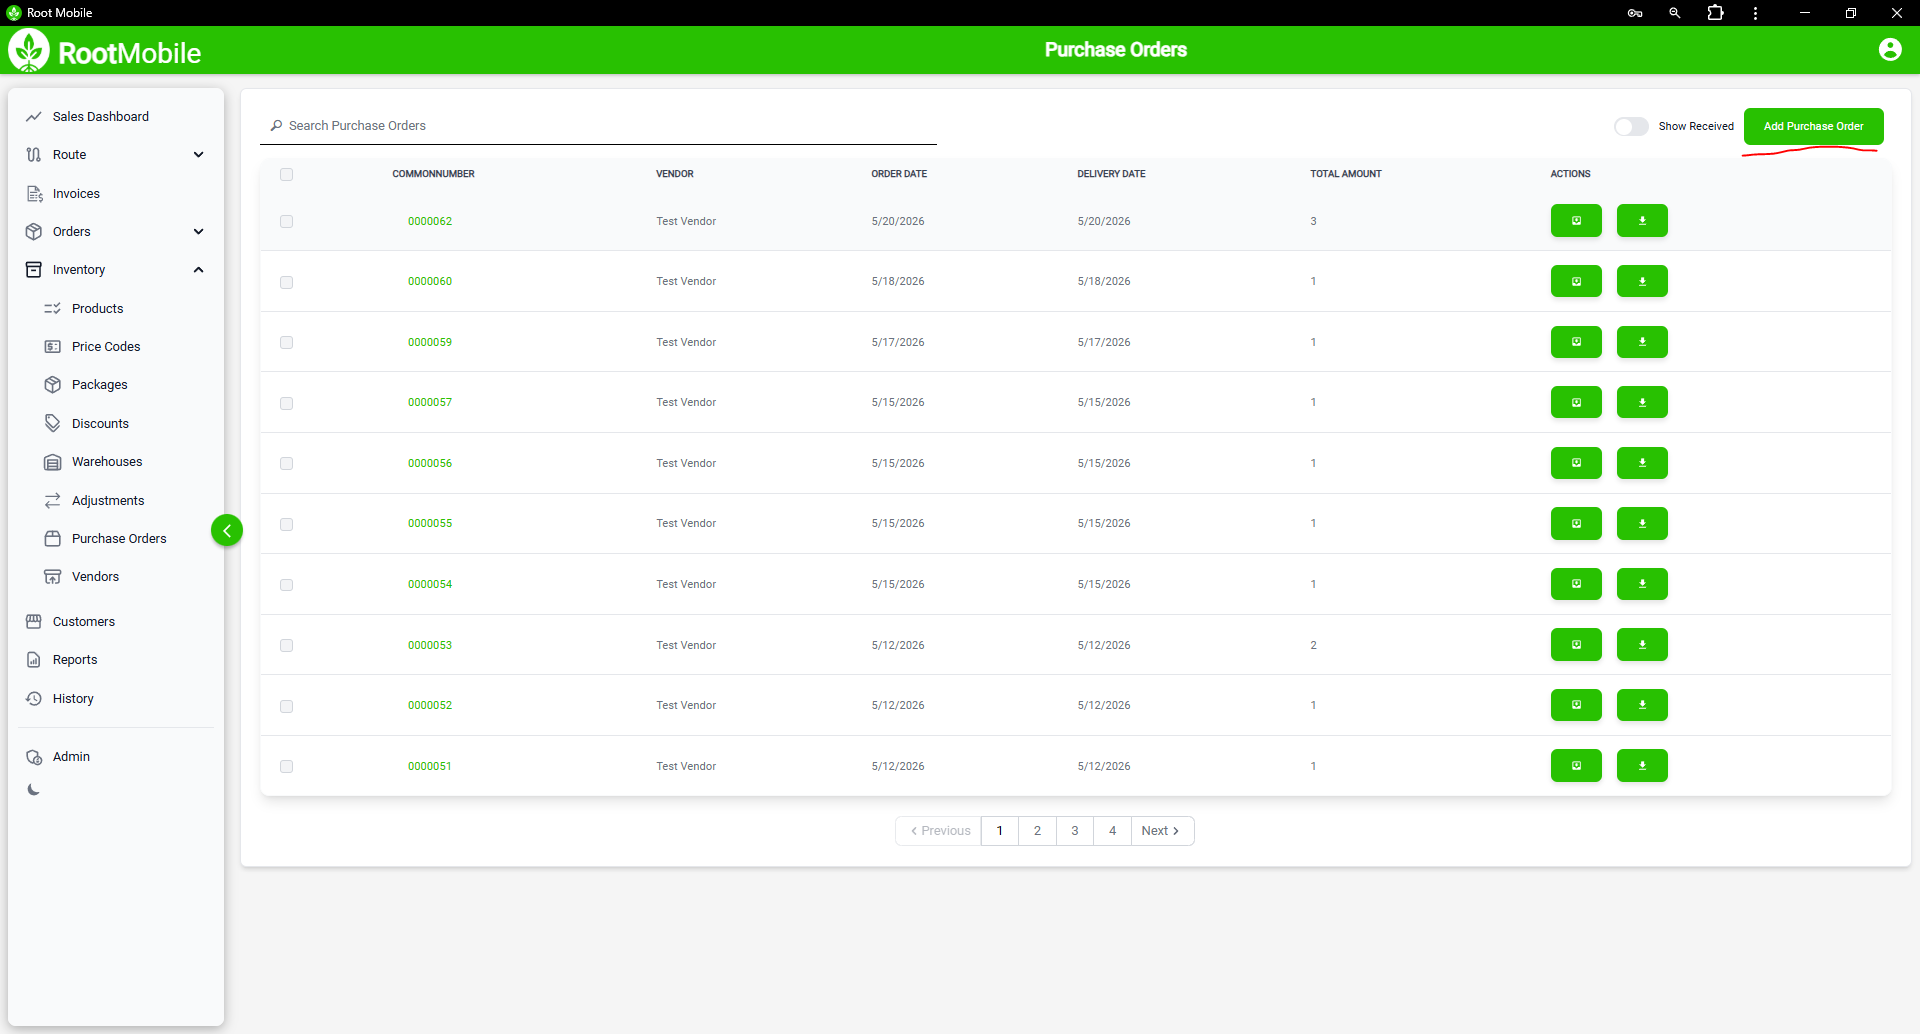
Step 2: Create a Purchase Order
Section titled “Step 2: Create a Purchase Order”- Navigate to the Purchase Orders section.
- Click to create a new PO.
- Choose a vendor.
- Add line items (products and quantities).
- Select the destination warehouse.
- Schedule the expected delivery date.
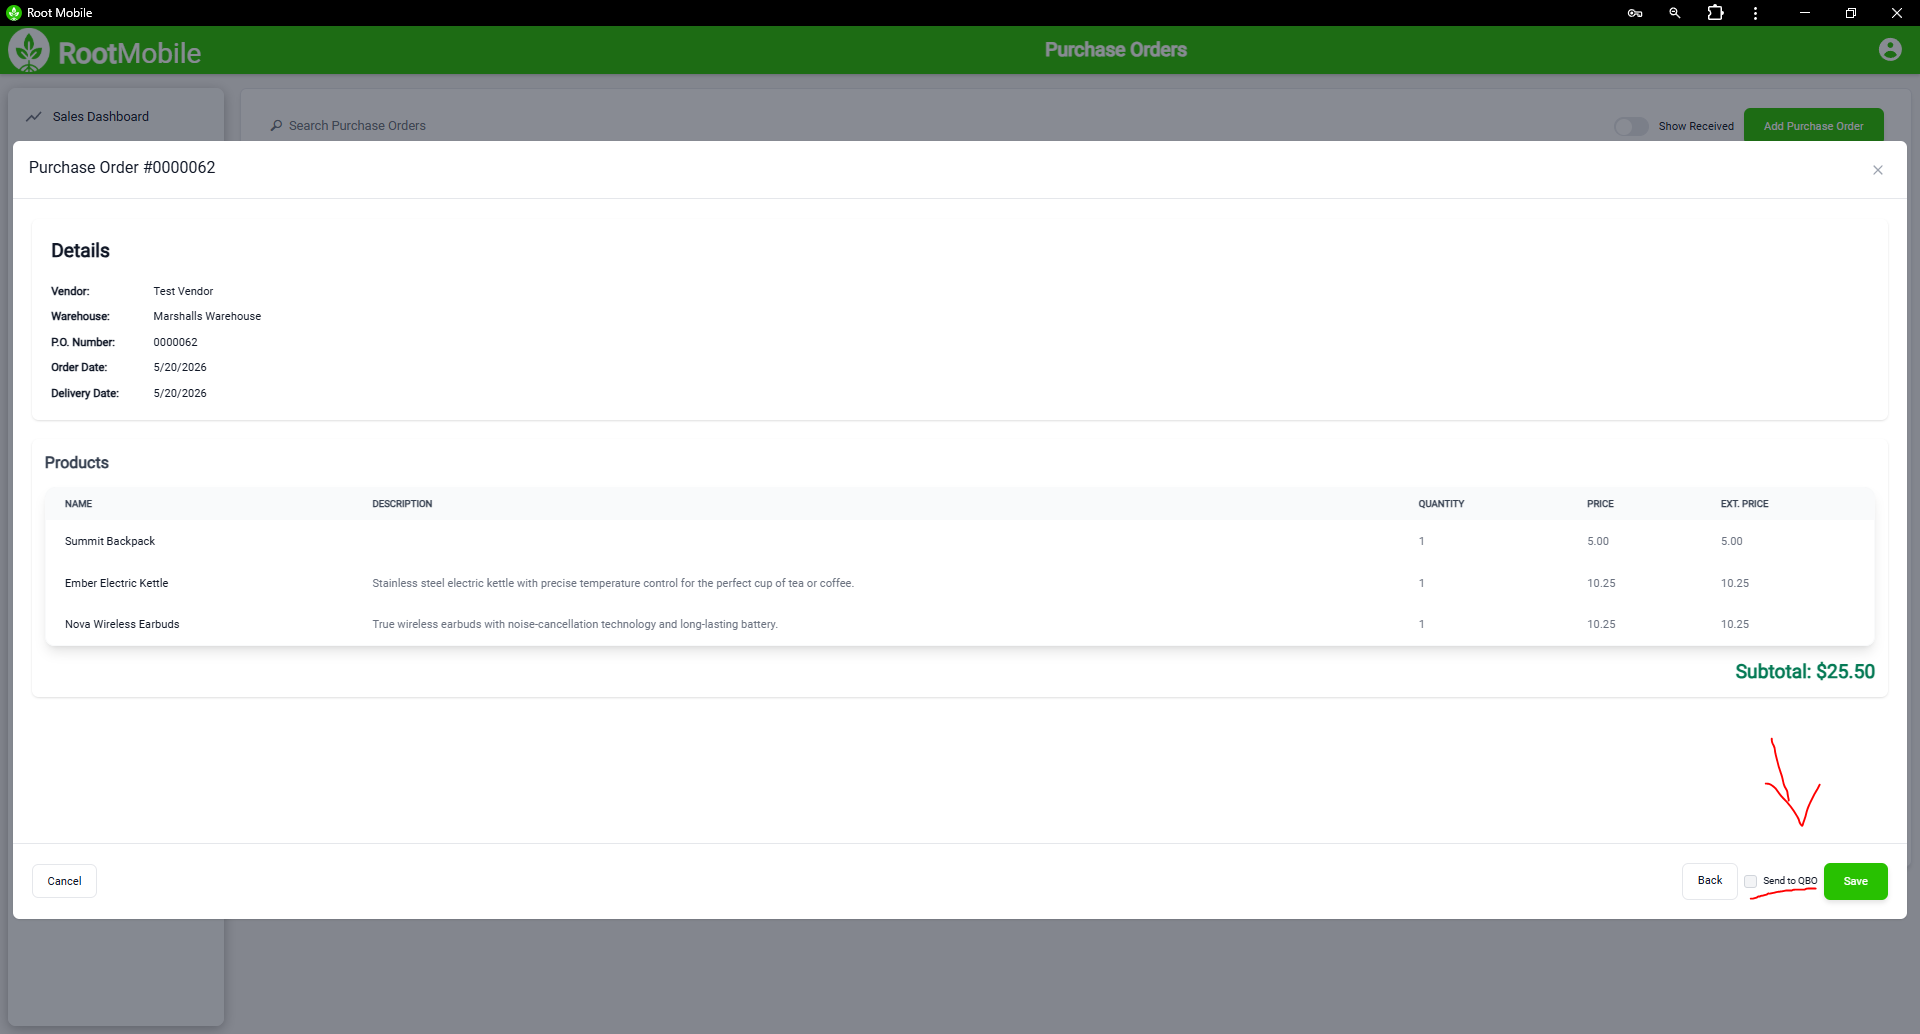
- Click Save.
QuickBooks Online: If you use QBO, toggle the checkbox to send the PO to QuickBooks upon save.
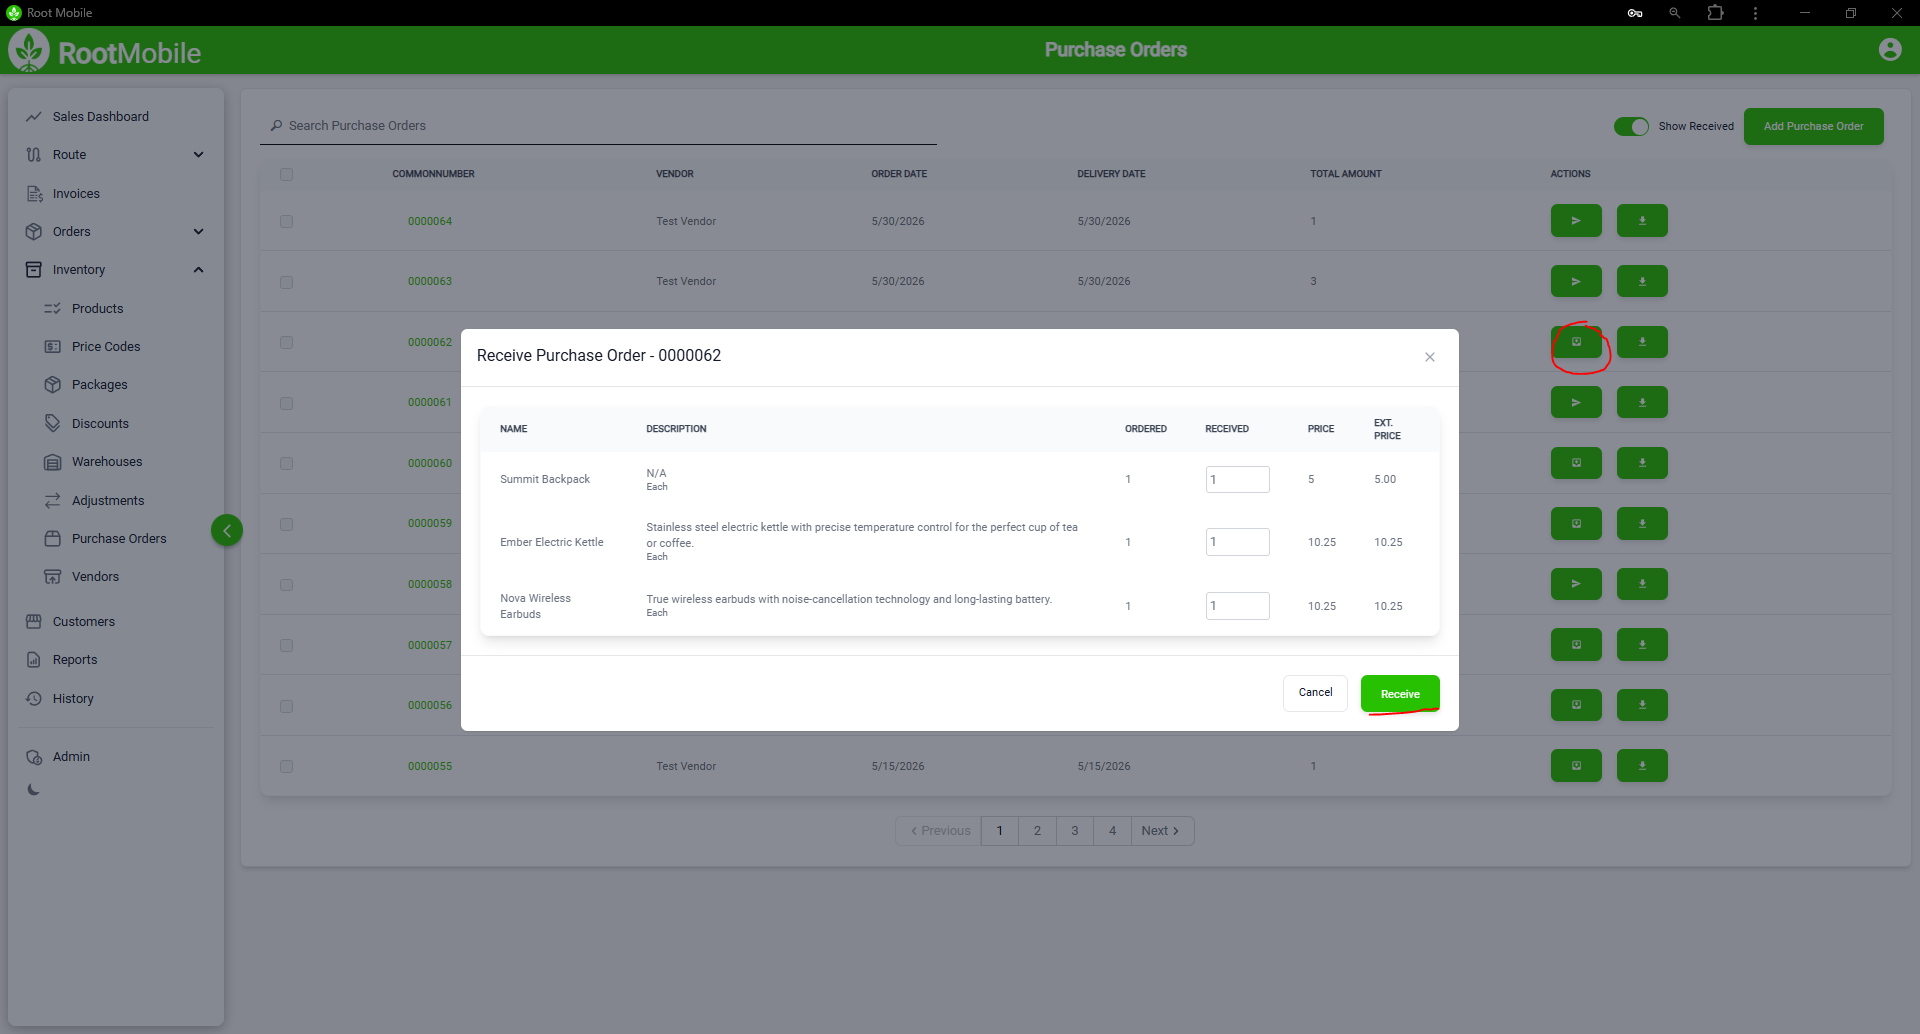
Step 3: Receive a Purchase Order
Section titled “Step 3: Receive a Purchase Order”When goods arrive, record what was actually received:
- Find the PO in the Purchase Orders list.
- Click the Receive action button.
- Enter the received quantities for each line item.
- Save the receipt.
Once received, the PO will drop from the default list. Use the Show Received toggle to bring received POs back into view.
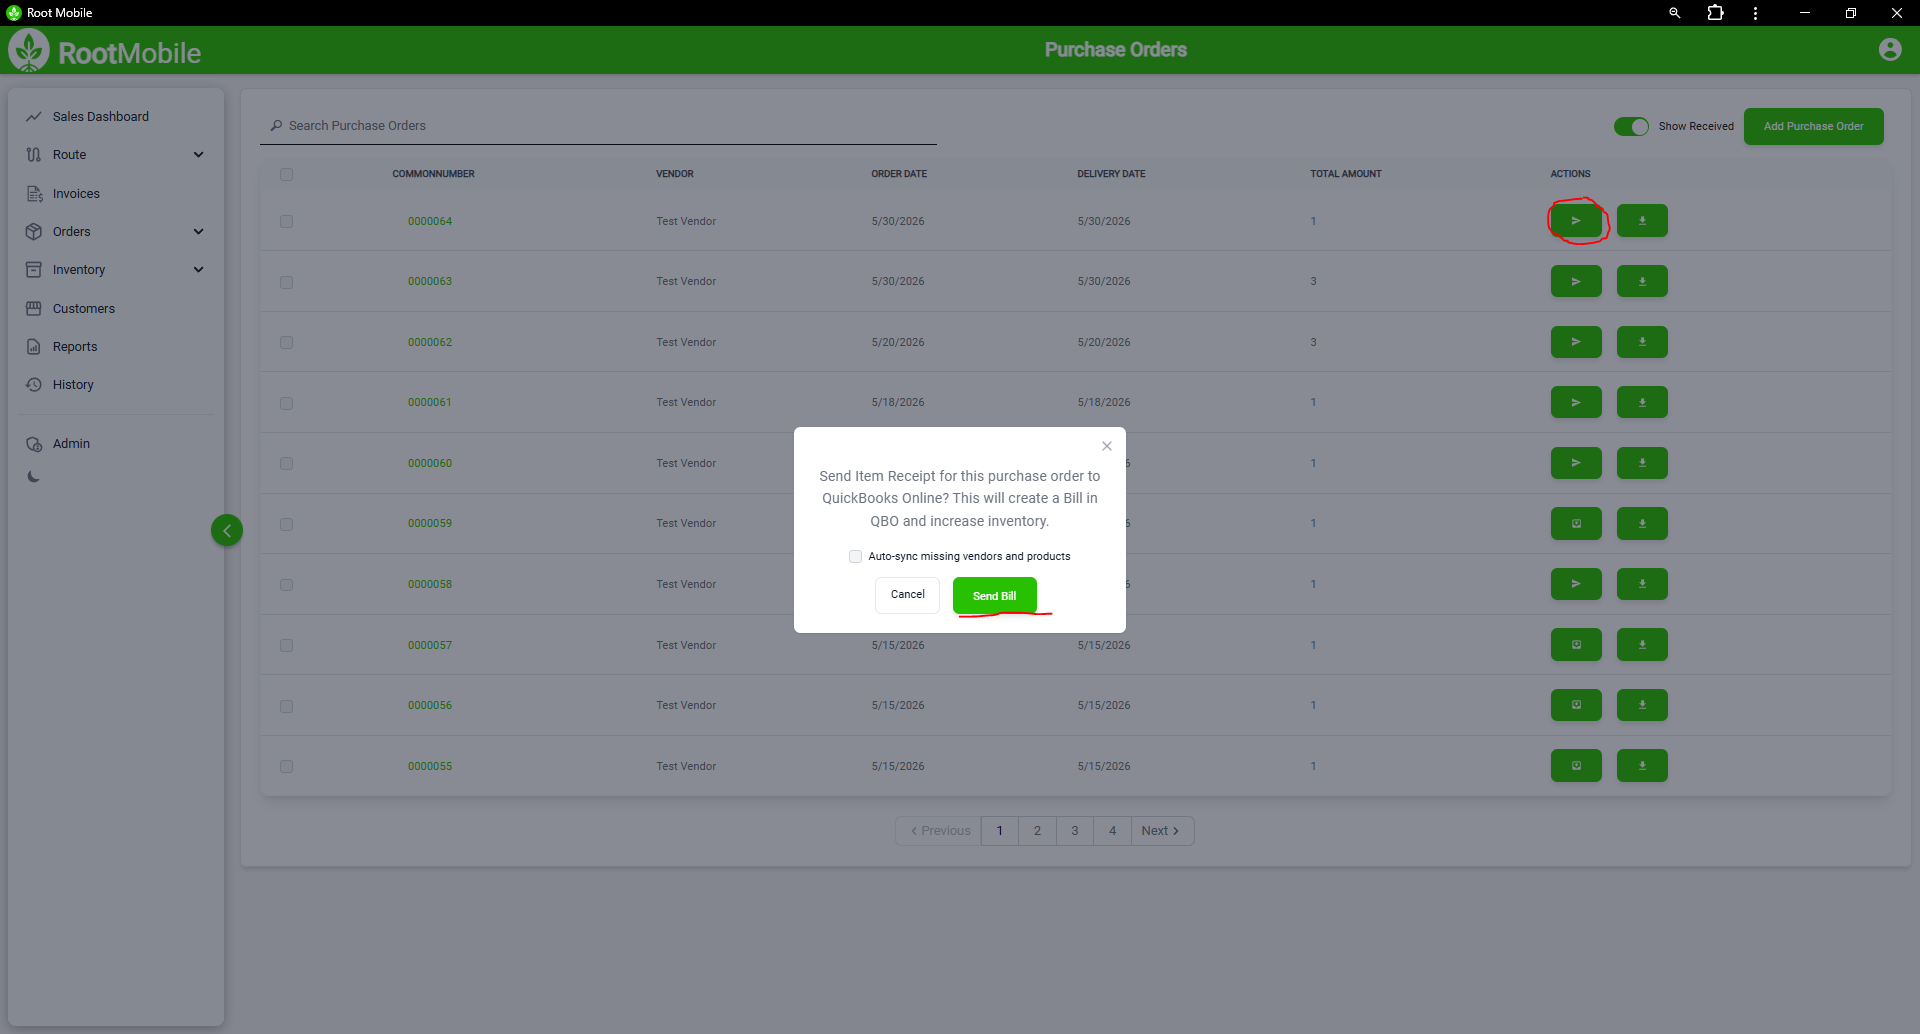
Step 4: Send Bill to QuickBooks Online
Section titled “Step 4: Send Bill to QuickBooks Online”QuickBooks Online only: After a PO is received, the Receive button is replaced by Send Bill. Click it to send the Item Receipt (Bill) to QBO.
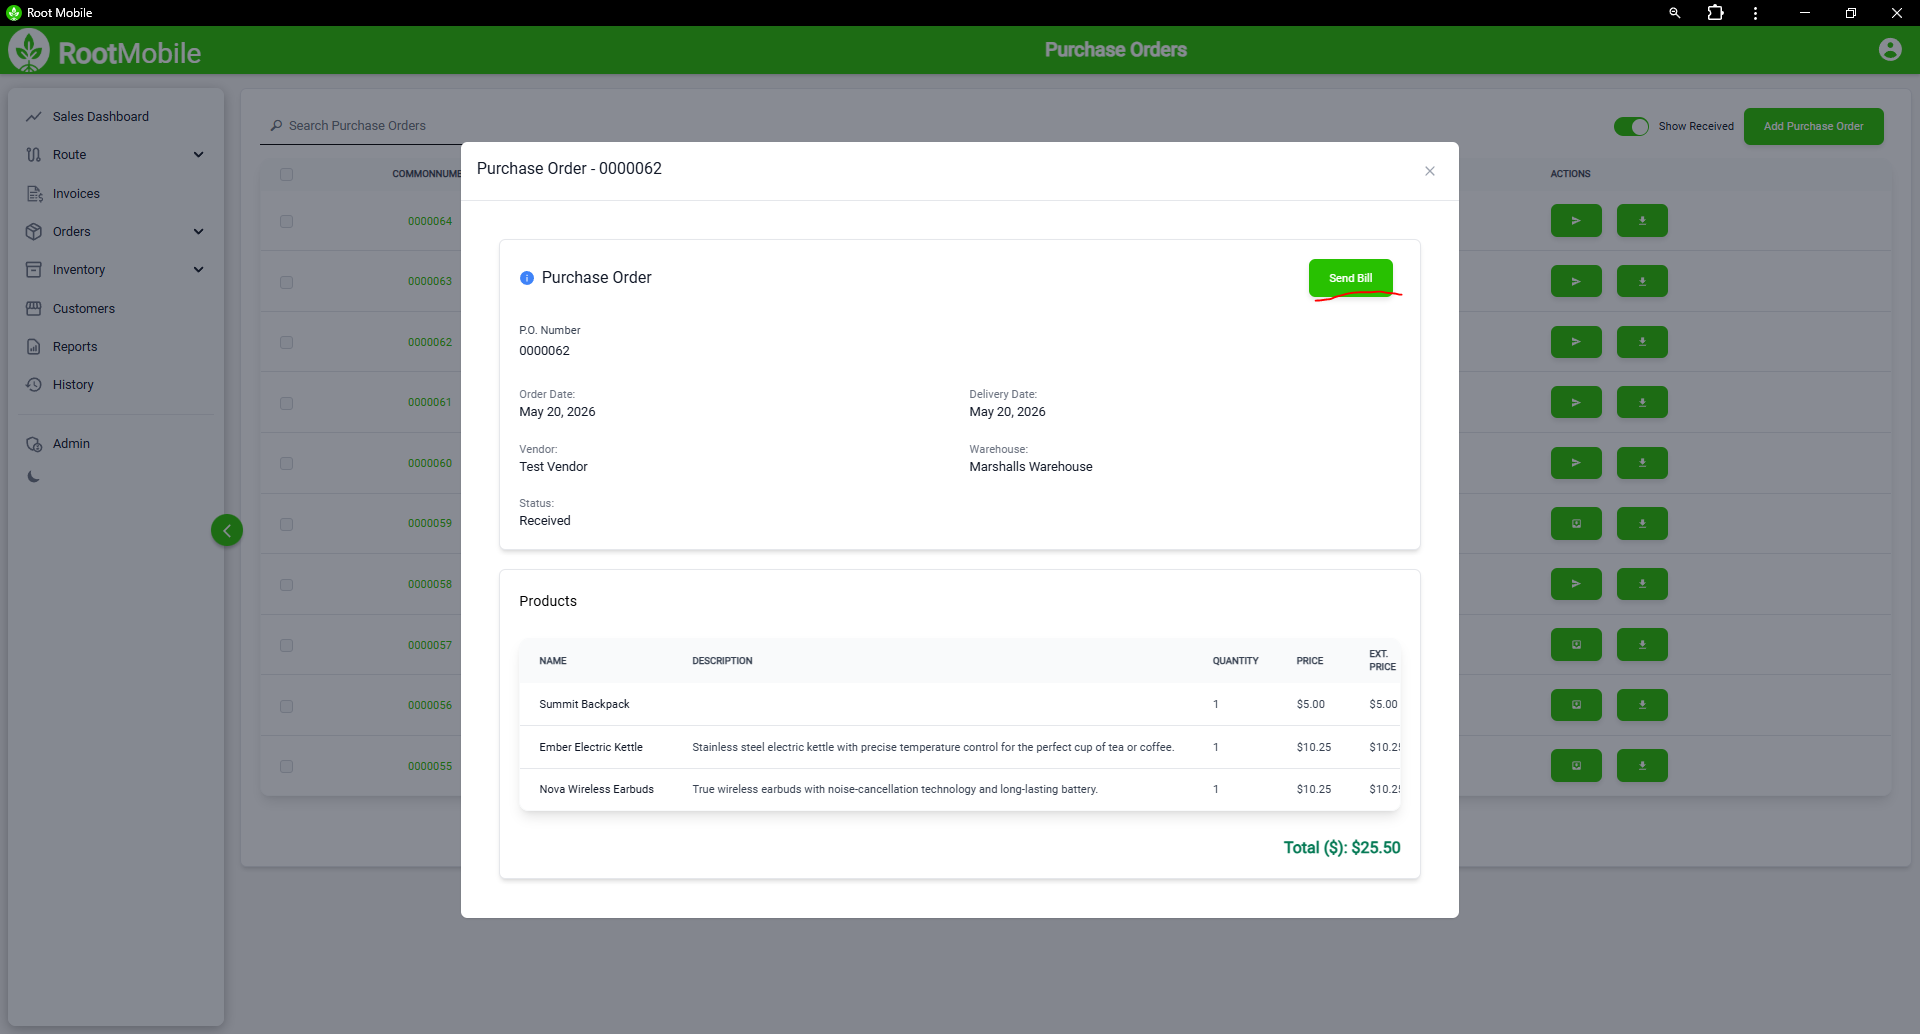
You can also open the PO preview and use the Send Bill button there.
By following these steps, you can manage vendor purchases from order through receipt and billing.