Get Started
Before you can use the Root Mobile app, you'll need to complete several setup steps in the web application. Follow this checklist to ensure your mobile app experience is seamless and fully functional.
Prerequisites: Web App Setup Required
The mobile app works in conjunction with the web application. You must complete these steps first:
1. Sign Up at app.rootmobile.net
Visit app.rootmobile.net to create your Root Mobile account.
- Complete the registration process
- Verify your email address
- Set up your company profile
Need help? Follow the detailed Sign Up guide in the Web App section.
2. Import Customers and Products
Your mobile app needs customer and product data to function properly.
- Import your customer list
- Upload your product catalog
- Set up pricing and inventory
Need help? Follow the Import Customers/Products guide for step-by-step instructions.
3. Create Routes and Trucks
Set up at least one delivery route and truck before using the mobile app.
- Create your first route
- Add truck/vehicle information
- Assign customers to routes
Need help? Follow the Build Routes guide in the Web App section.
4. Add Users (Optional)
If multiple people in your company will use Root Mobile, add them now.
- Invite team members
- Set user permissions
- Assign users to routes
Need help? Follow the Add Users guide for detailed instructions.
Mobile App Installation and Login
Once you've completed the web app setup, you're ready for the mobile app:
5. Download the Mobile App
Get the Root Mobile app from your device's app store:
- iOS: Download from the App Store
- Android: Download from Google Play Store
6. Log In with Your Credentials
Use the same login credentials you created for the web app:
- Enter your email address
- Enter your password
- Select your route (if you have multiple)
You're Ready to Use the App!
Congratulations! Your Root Mobile app is now set up and ready to use. You can now:
- View your daily route
- Access customer information
- Create orders and invoices
- Optimize your delivery route
Start of Day
Once you've logged into the mobile app, you'll begin each day by selecting your route configuration on the Start of Day screen. This is where you tell the app which route you're running and when.
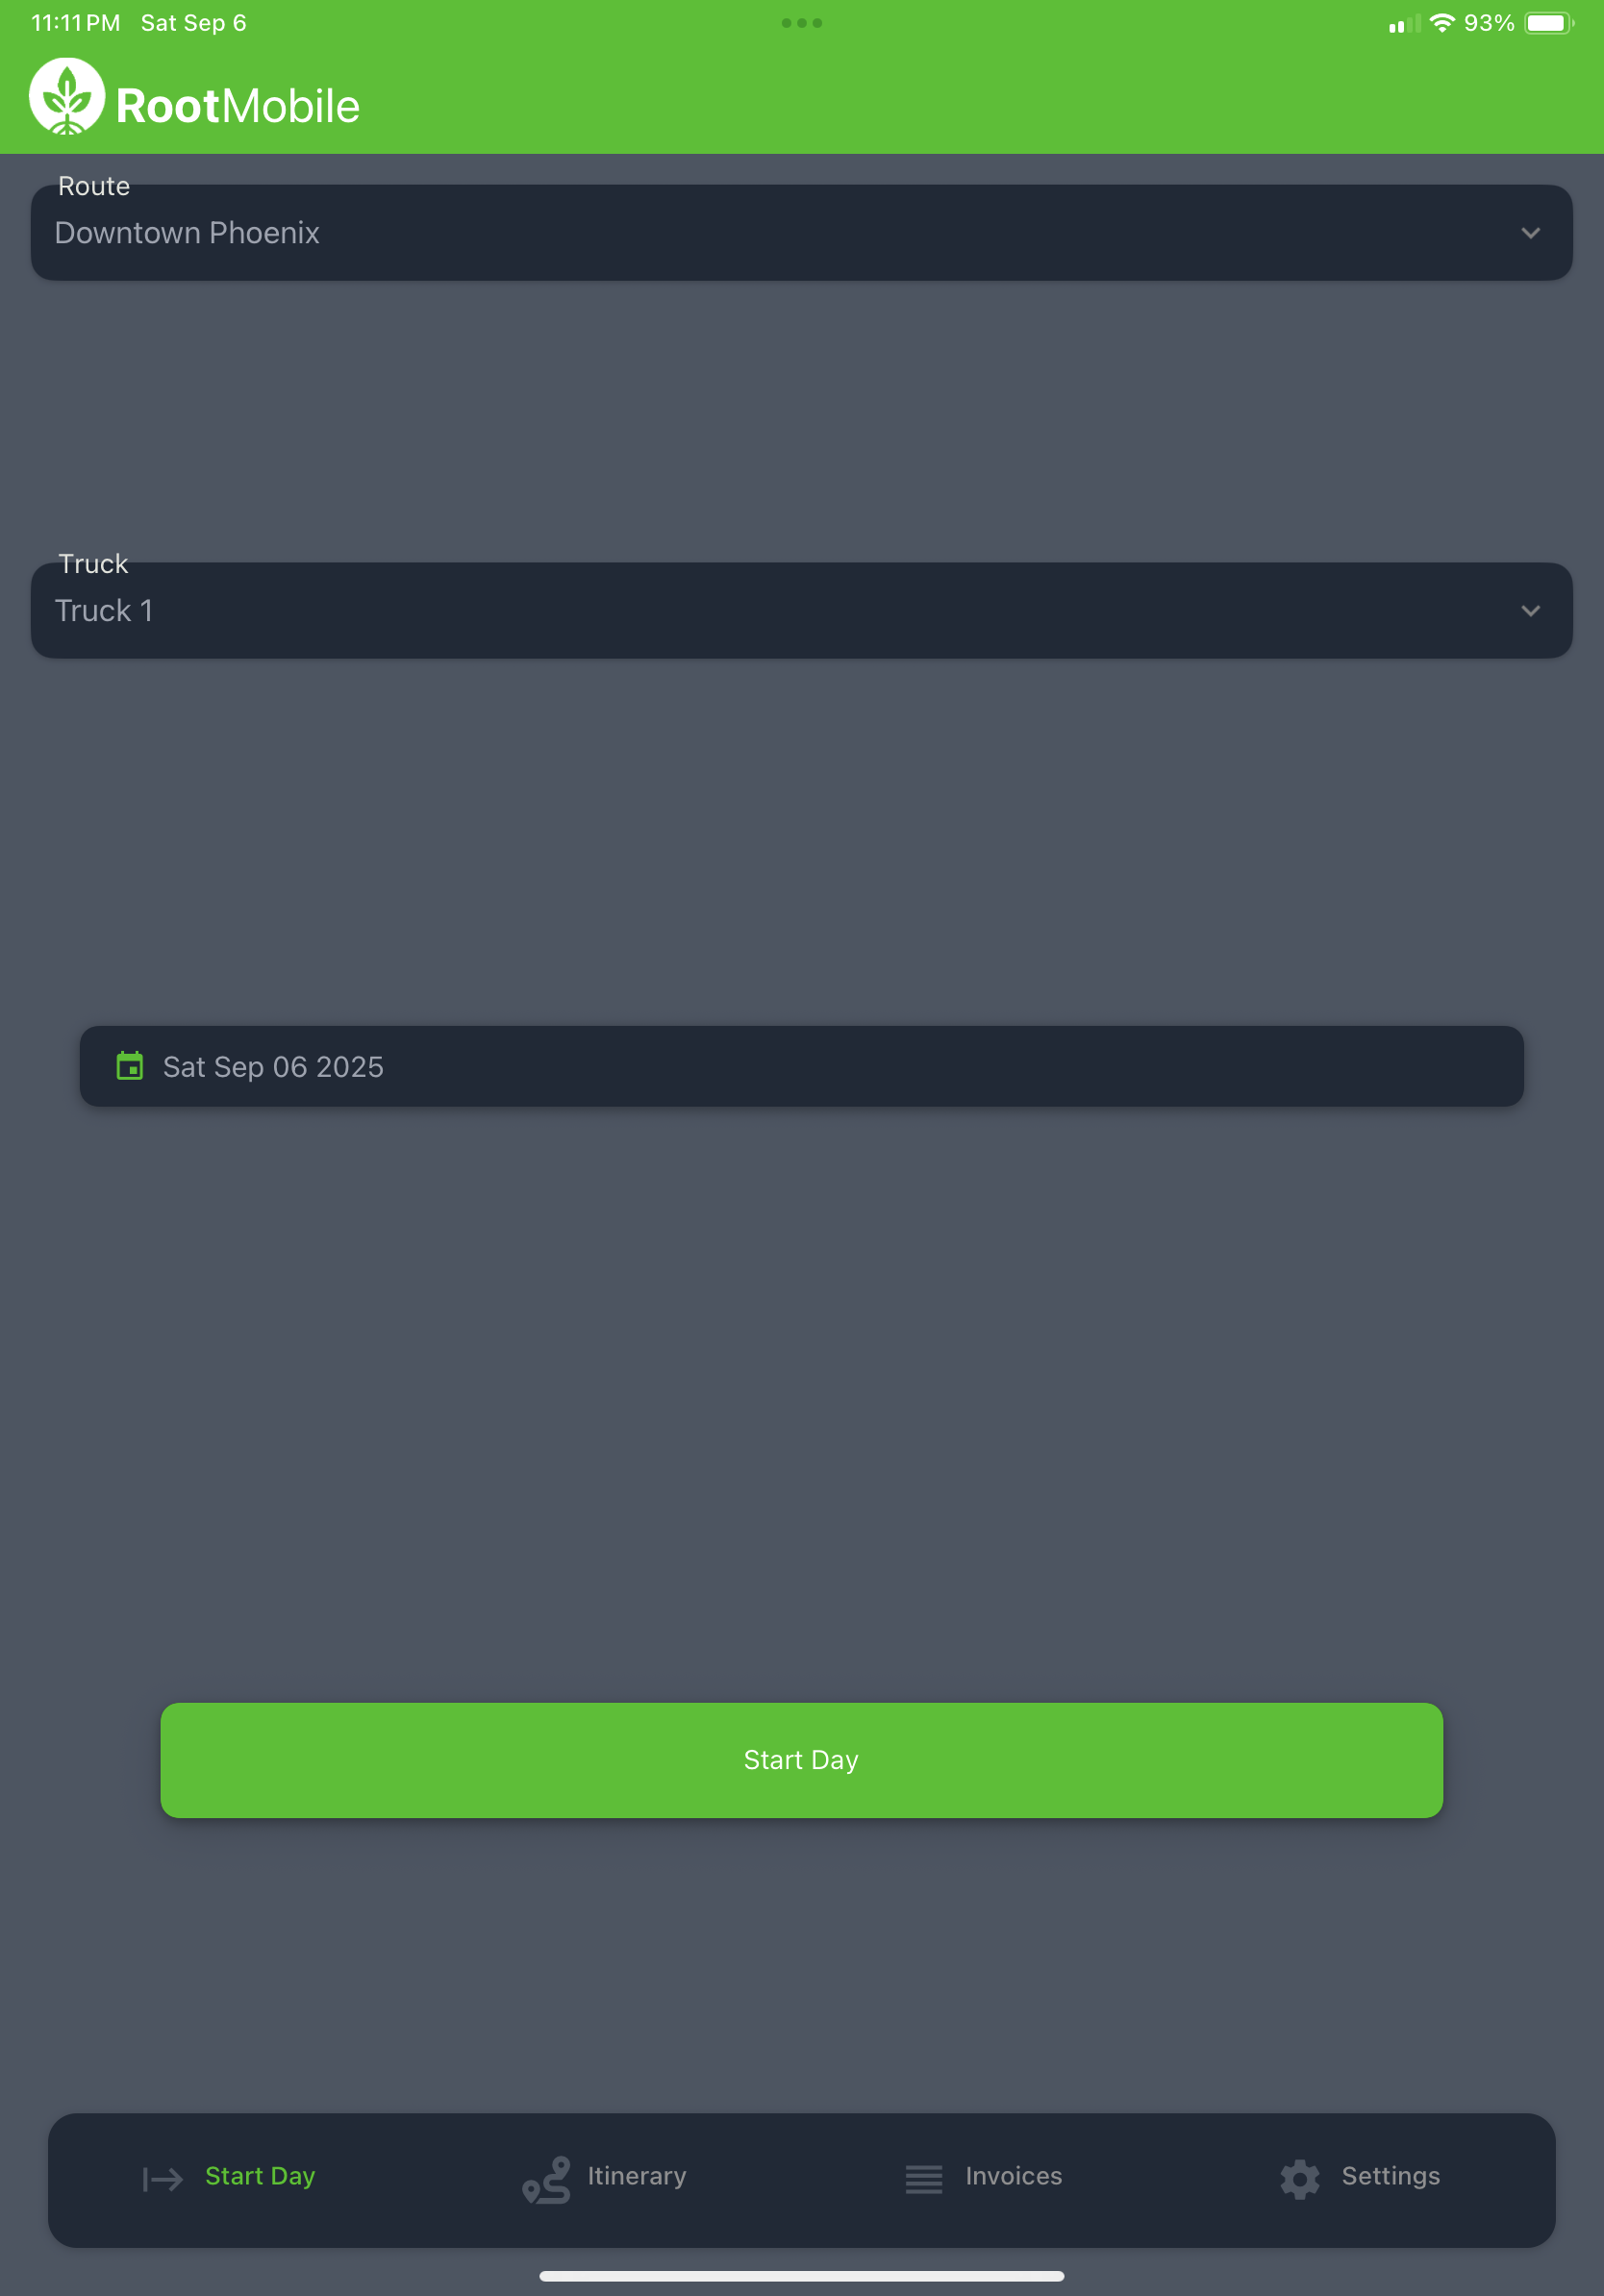
Selecting Your Route, Truck, and Start Date
On the Start of Day screen, you'll need to configure three key settings:
- Route: Select which delivery route you'll be running today
- Truck: Choose the vehicle you'll be using for deliveries
- Start Date: Pick the date for your route (typically today, but you can choose another date if needed)
Flexible Date Selection
You can choose any start date - not just today's date. This is useful for planning future routes or catching up on previous days.
What Will Appear on Your Itinerary
Based on your route and start date selection, the app will automatically populate your itinerary with:
1. Orders with Matching Delivery Dates
The app will pull any orders that have been:
- Assigned to your selected route
- Have a delivery date that matches your selected start date
2. Route Customers
All customers that have been directly assigned to your route through the web app's route dashboard will appear, even if they don't have specific orders for that day.
How Start of Day Populates Your Itinerary
The Start of Day process pulls two types of stops:
- Outstanding Orders: Orders assigned to your route where the order's delivery date matches your selected start date
- Route Customers: Customers directly assigned to your route via the web app, regardless of whether they have orders
This ensures you have a complete picture of all the stops you need to make, whether they're specific order deliveries or regular customer visits.
Next Step
Continue to: Optimize Route - Learn how to optimize your delivery route for maximum efficiency.