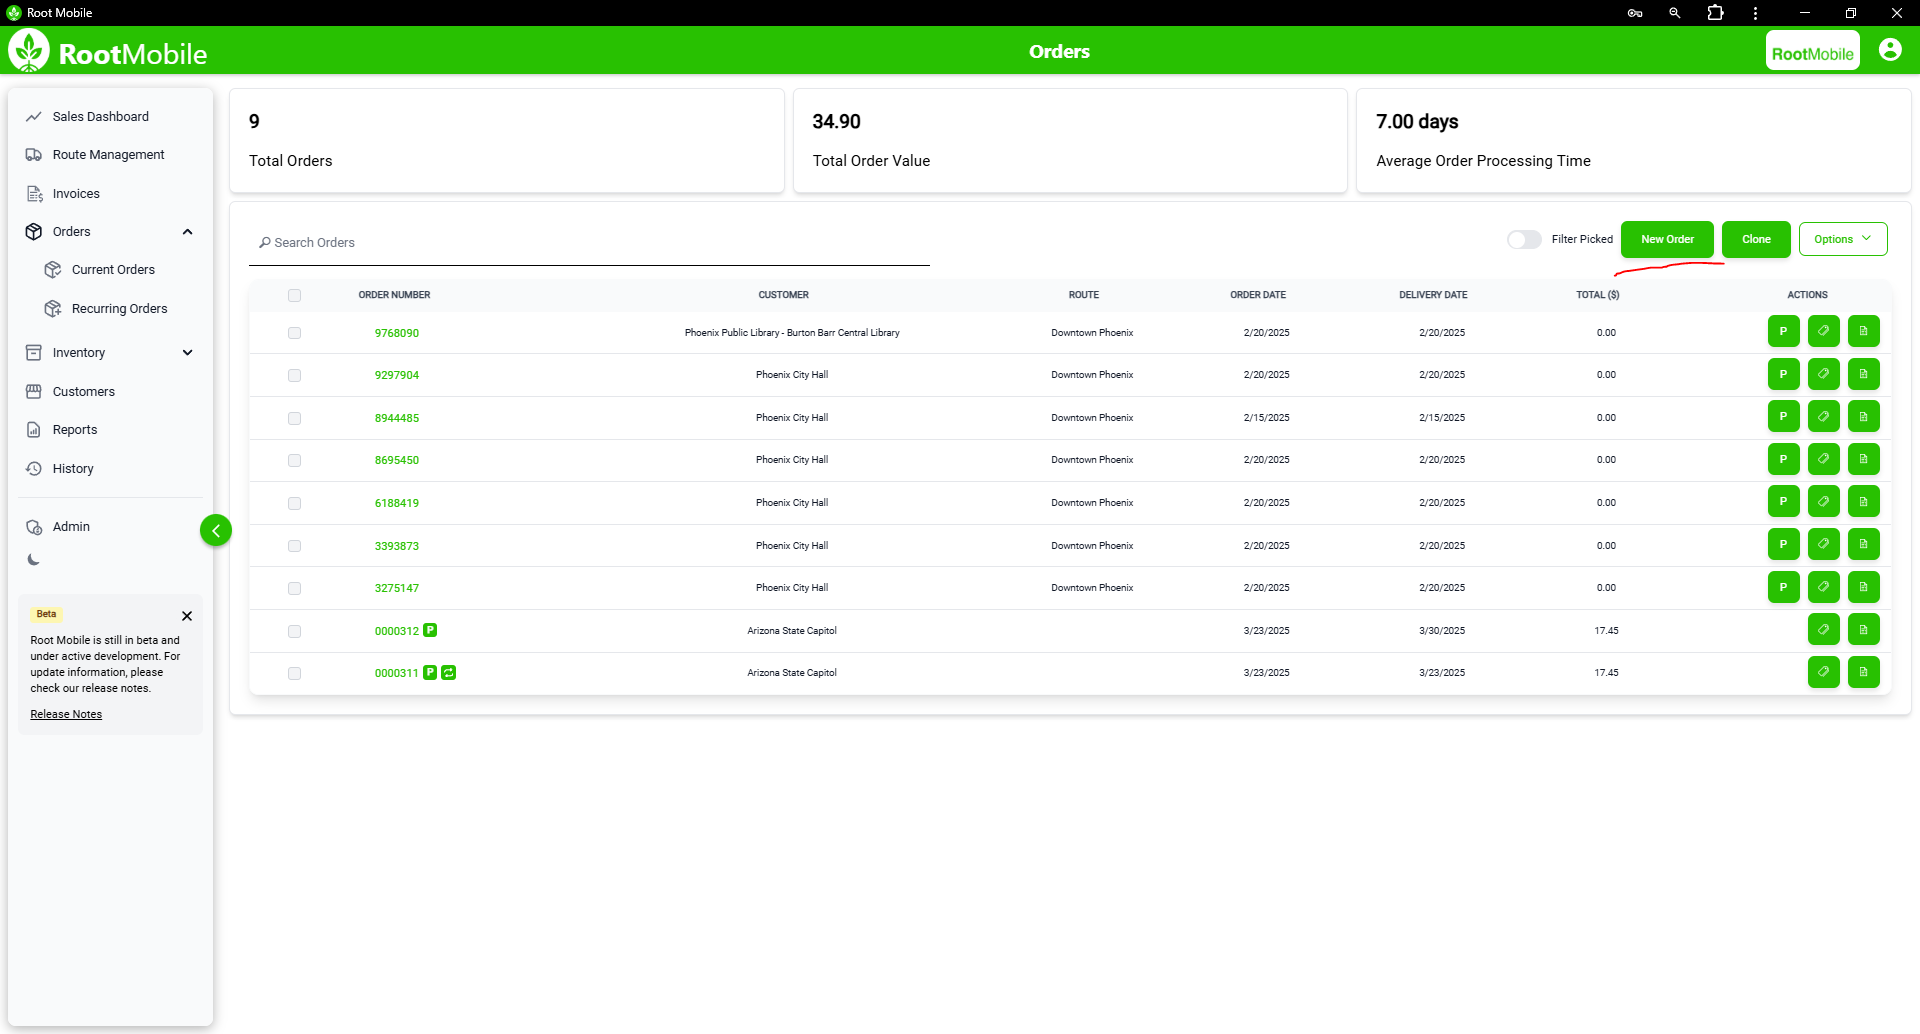
Add Orders (Modify, Pick, Quote, Invoice)
Overview
The Orders module in Root Mobile is designed to help you manage your day-to-day fulfillment process. From creating new orders and assigning schedules to quoting, picking, and invoicing, each order flows through a simple, trackable lifecycle. Whether you're servicing retail stores, distributors, or internal teams, the order workflow supports flexibility, visibility, and speed.
In this guide, we’ll walk through how to:
- Create and schedule new orders
- Add and update product line items
- Assign team members and enable recurring schedules
- Print order quotes, mark them as picked, or invoice them directly
- Modify existing orders as needed
📦 Step 1: Create a New Order
- Navigate to the Orders tab from the sidebar.
- Click the "New Order" button in the top right corner.
- A new draft order will be created with a unique Order ID.
👥 Step 2: Choose Customer
- In the new order modal, choose a customer from the list.
- Search or scroll through the list to find the correct customer.
- Select the customer to link their billing and delivery info to the order.
📊 Step 3: Add Order Line Items (Products)
- After selecting a customer, you'll find yourself on the Products tab. Here, the lefthand list displays available products.
- Search for a product by name or SKU, and click to add it to the order. You'll see it move to the righthand list once selected.
- Enter the desired quantity and price.
- Repeat for each item required in the order.
📅 Step 4: Schedule and Assign (incl. Recursion)
- Click on the Schedule tab or section.
- Select the desired delivery or fulfillment date.
- Assign the order to a team member or driver.
- Enable Recurrence if this is a repeating order.
- Choose frequency (e.g., Weekly, Monthly)
- Define end date or number of occurrences
⏳ Recurring orders will auto-generate based on this schedule and appear in the Orders list with future dates.
🔄 Step 5: Review
- Double-check all entered details: customer, products, quantities, and assignments.
- Add internal notes or tags if your workflow uses them.
- Click "Save" or "Continue" to move forward.
✏️ Step 6: Modify or Update an Order
- Navigate to any existing order from the Orders list.
- Click on the order to open it.
- Use the Edit buttons to update products, customer, schedule, or status.
- Changes are saved automatically, or you can click "Save Changes" manually.
📄 Step 7: Generate a Quote
- Within the order view, click the "Quote" button.
- A quote PDF will be generated based on current order data.
- Review and email or download as needed.
📅 Quotes are timestamped and saved under the order record.
📦 Step 8: Mark an Order as Picked
- Once products are packed and ready, return to the Orders list.
- Click the "Pick" button in-line with the order being picked.
- Confirm the picking date and assigned picker if prompted.
🚚 This prepares the order for dispatch, allowing it to be picked up by the mobile app.
📃 Step 9: Convert an Order to Invoice
- Find the order in the Orders list.
- Click the "Invoice" button in line with the order being invoiced.
- An invoice record will be created and linked to this order.
- You can now track payment status, due dates, and send to the customer.
💳 Invoices are found in the Invoices tab and contain full financial details linked to the order.
✉️ Common Issues & Troubleshooting
Problem: "Can't find the product I need." - Solution: Check product list for spelling or add the missing product manually.
Problem: "Order won’t save." - Solution: Ensure all required fields (e.g., customer, at least one product) are completed.
📈 Best Practices
- Use recurring orders to automate regular deliveries.
- Assign orders promptly to a route to avoid last-minute fulfillment.
- Review open drafts weekly to ensure nothing is missed.
- Convert to quotes for approval workflows before invoicing.
By following these steps, you can manage orders efficiently and reduce operational delays across your business.